I'm looking for...

Showing posts with label hem. Show all posts

Thursday, July 19, 2012

How to hem double faced wool

   This is the last of my tutorials about my double faced cape. Please read the previous ones to have a spherical view on the method I followed and this one will be a piece of cake, I promise!


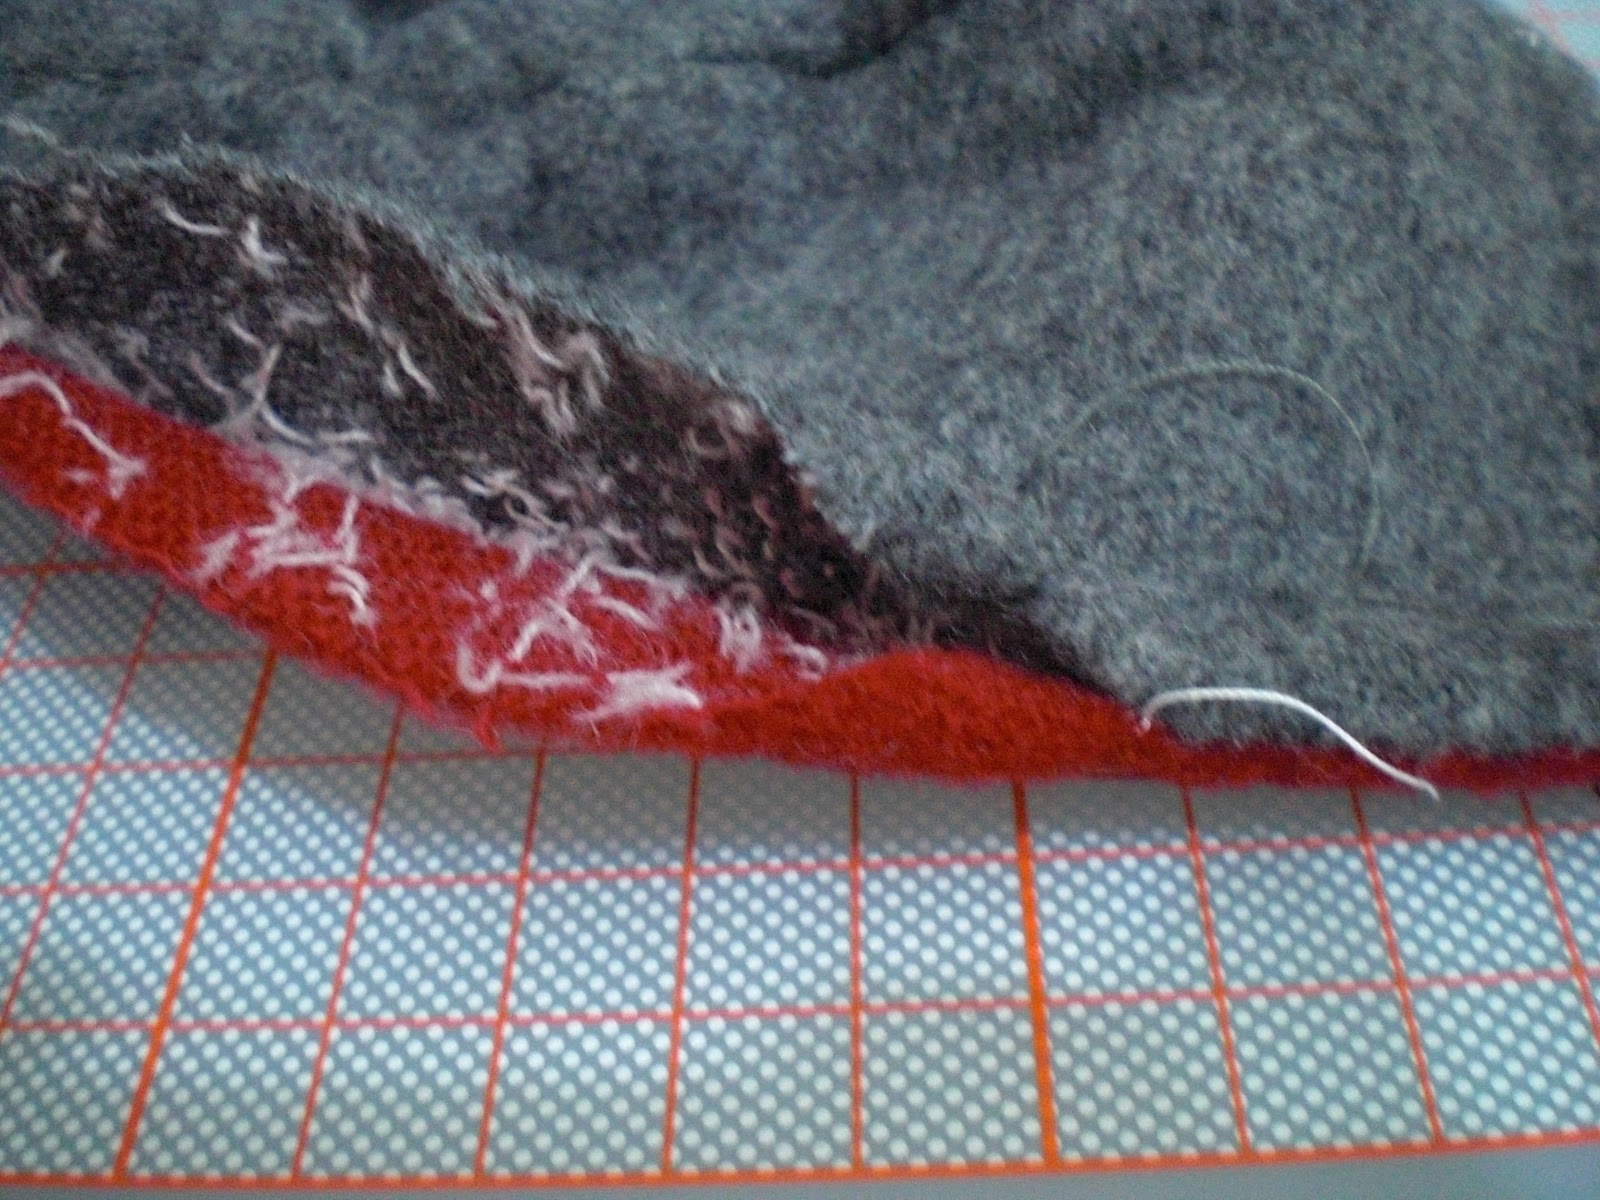
   Let me remind you. This is how double faced wool looks from the side


I suggest you do the hemming last on your project, no matter what you pattern instructions says, because that's the only way I can think of, to have a neatly finished garment with fully enclosed seams.

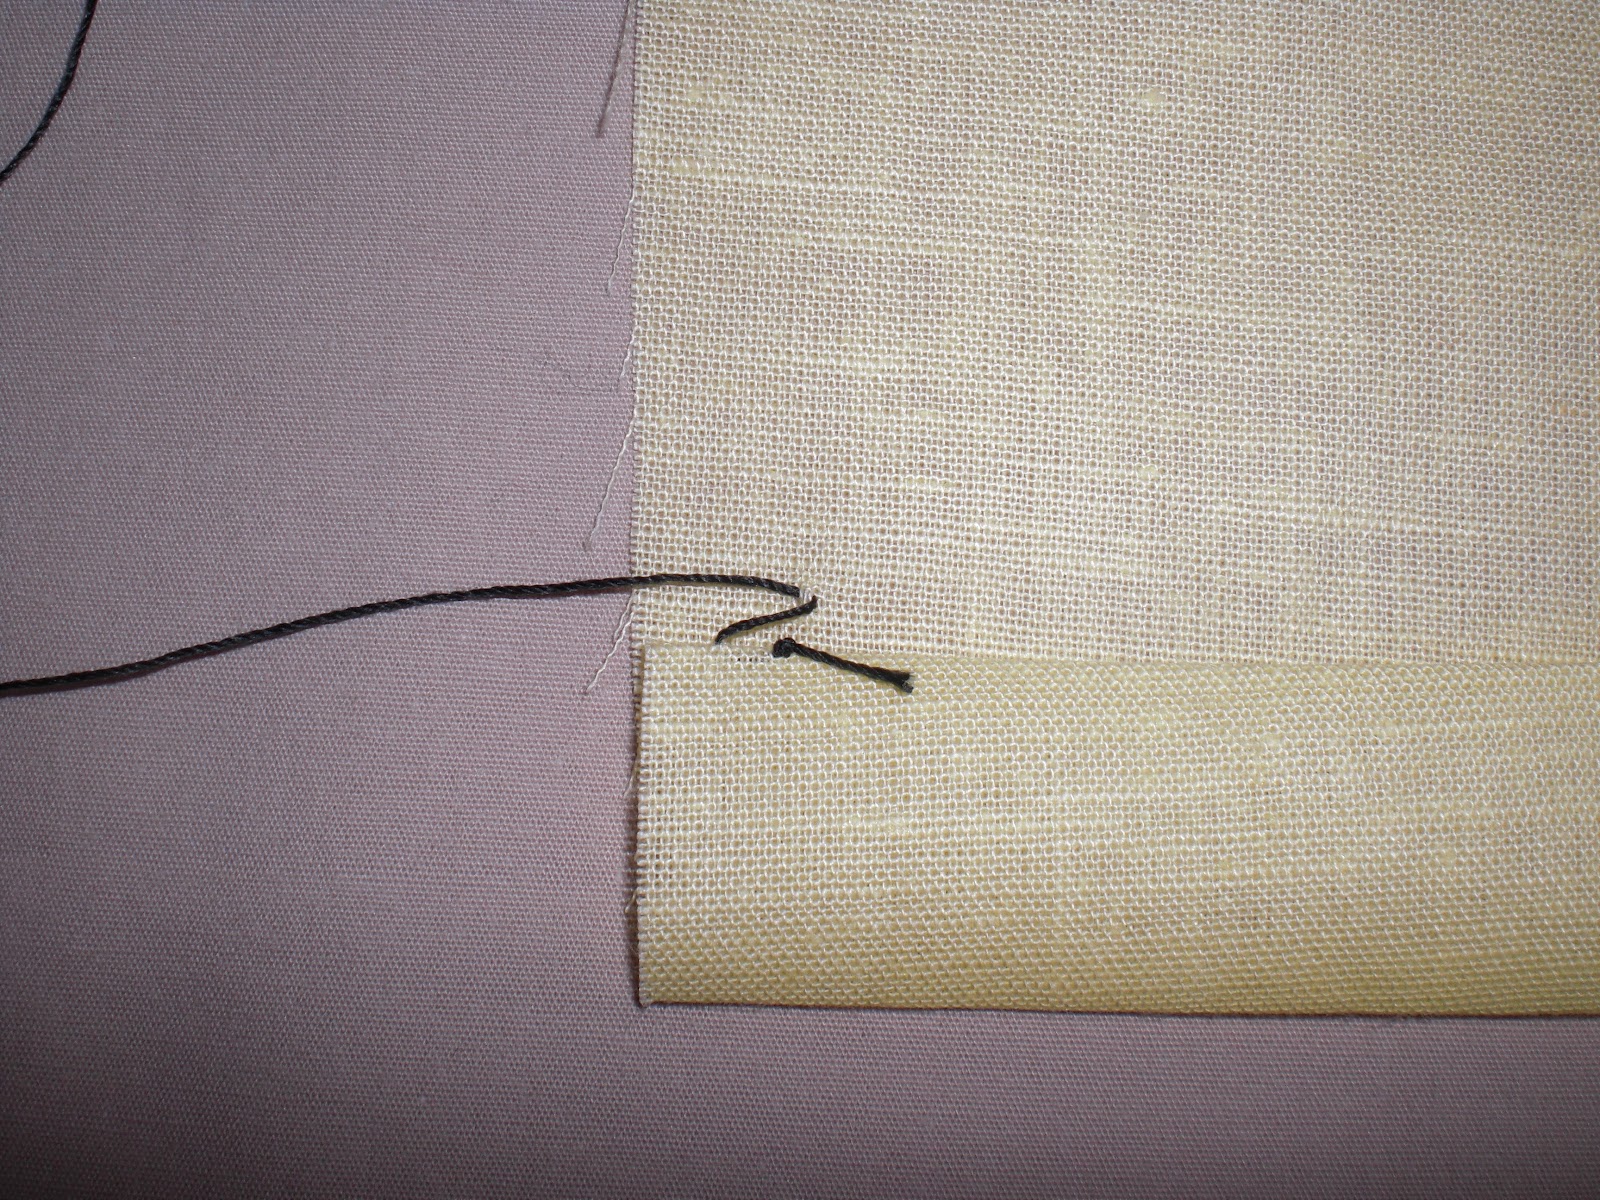
So you already have basted your pattern pieces at double the seam allowance distance


and you have separated the two fabric layers up to the basting thread, be careful not to go any further.


Now all you have to do is fold inwards both fabrics (grey and red) until their edges meet the basting thread.
Press, using a pressing cloth and cut half width the seam allowance, as you did when you prepared a basic seam. You don't have to check the width of the seam allowances, as long as your basting is at double distance the seam allowance your patterns suggests or you chose to use. By folding the edges inwards you are folding the seam allowance.


That was all! Now sew, catching both the grey and red fabric with the needle, creating a smooth edge.
When reaching a corner try to make a pointy edge (if your pattern calls for one) and cut any excess fabric you have to fold inwards, to avoid bulk.


Press and run to the mirror to admire your garment on! Told you it was easy!


Feel free to contact me if you need help.

See you around
Maria


Monday, September 5, 2011

A little hem cheating is not always bad!

    When I came back from vacations I noticed that  I have a lot of clothes that I do not wear, because they need to be altered. Some of them are in my closet for way too long. So I promised my self to alter every summer garment has to be altered, before I start a new project. So far so good, I've hemmed 3 pairs of pants, fitted 3 dress and I have 2 more dresses and 2 skirts to fit. Those last 4 garments are self made, before I lost weight and I still have not figured out how to alter them... the easy way.
   So among those 3 pairs of pants, there was these linen, jeans like pants, with this interesting hem.


    I wanted my hemmed pants to have this same hem, but I was to bored, tired and fed up with hemming pants, to take all the measurements, so I decided to cheat! And here is how :

   Firstly, I noticed that there is this little overlapping here, that would hide well a stitch.


So, if I measured the desired length and I folded the extra and I hid the stitching under that overlapping piece no one would notice. Right?
So I did.

1. I measured the desired length.
I had to shorten these pants 4 cm.
That means 2 folded cm (2 + 2 = 4).

2. I turned the pants inside out and I pined 2 folded cm.


3. After pinning I pressed, to create a sharp folded edge.
That's how it looks from the outside.


4. Having my edge all sharp, I removed the pins.
I folded the hem, having the edge as a guide.
I pinned making sure that : a) the side seams match and
b) the overlapping piece is kept, by the pins, down, so that when I 'll sew right next to the existing seam line, I won't sew over it . Got it?


5. I stitched really close to the existing seam line.
I used my zip foot, to keep my needle really close to the seam line.


6. Then I turned the pants outside in (!) and I pressed really good.
See?


Can you tell I've cheated?

This is how it looks in the inside.


No one will know, unless you are not pressing your own clothes!

Tip : If the amount of fabric you have to fold under the existing hem is too long, you may follow the steps above and after stitching, cut the excess off, leaving a 1,5 cm allowance, which you will zic zac, to prevent unravelling. 

See you around
Maria


Sunday, July 10, 2011

Beach dress!


    Have you seen all these bags and dresses with a draping made by big wooden beads? Well I did and I thought it would be easy to make one of my own. 

    Ι made this beach dress. To be honest with you, I was going for a sun dress, but wrong choice of fabric led to a beach dress. It's ok I guess. I should have used a lighter fabric... next time!


And this is the back


It goes beyond the bra line.

I tried my wing needle, that I got from gonesewing.com, at the hem. 
What do you think?
If the fabric was lighter, considering the tread tension, the design would have been more obvious...


(Sorry I'm not modelling the dress my self, I need to make some arrangements for a shooting space.) 

For the beads


I bought two of these bracelets with wooden beads, a euro each.
I tested that their colour won't end up on the fabric, by wrapping one of them in a piece of fabric and washing it.

Their actual size is this


I have a bit less than a bracelet left, I should find some use for it.

See you around
Maria

Sunday, May 22, 2011

Hemming stitch

    I've made samples of two kind of stitches I use for hand hemming. 
Let's start!

We have a double pressed hem, as shown in yesterdays post.


You may sew it double or reduce the bulk, by cutting off a piece of the first layer, 
like this.


Now take your needle and tread.
(I'm using oversized needle and heavy tread, which are not appropriate for this thin cotton fabric, 
but are photo friendly!)

Tie a knot to the tread and make a parallel to the hem stitch, catching only the double fabric.


On the second stitch, you are catching only one or two fibres of the single fabric layer, which also is the layer you can see from the good side of the garment.


You can barely see what I've caught with my needle here, cause it's just two fibres.

Repeat again and again.


That's how it looks from the good side of the garment.


With a matching tread you won't be able to see anything.

Here's a second way to make this stitch. 

Do the same steps, but this time go form left to right.


and then


you can see the stitches crossing


This is the right side of the garment.


Same result, but more durable.

Tips: a) As you go stretch the hem and let the tread sit comfortable.
 You don't want the tread to be too tight, cause then your stitches will be obvious. 
b) You may make big steps with this stitch! 
You can go from one stitch to the next, with 0,5 or 1 cm space between them.
The tiny stitches on the good side of the garment will end up with the double space between them.

See you around
Maria


Related Posts Plugin for WordPress, Blogger...