I'm looking for...

Showing posts with label pants. Show all posts

Thursday, December 29, 2011

How to narrow an one-piece waistband of a ready made pant

    Hello every one! Merry Christmas! I hope you all had a nice family time and the hand made gift, you probably gave to people you love, got really apreciated. I've always been really curious about that. I imagine people look very excited when we offer them a hand made gift and then, when they are alone, they would be observing our masterpieces with curiosity! Haha!
   
    I'm copying here my "How to narrow an one-piece waistband of a ready made pant" tutorial, to have them all together, under the "tutorials" tab.

1.   I always have been narrowing the waist of the pants I buy, because I have a narrow waist and wide hips. The result wasn't always the best, usually depending on the fabric or how long my top was going to be...to cover up the waistband... Now I believe I've got it! See if the waistband is one piece, there's no guide-seam to follow or an easy way to add darts if needed. I hope I'll help you guys. It worked for me!


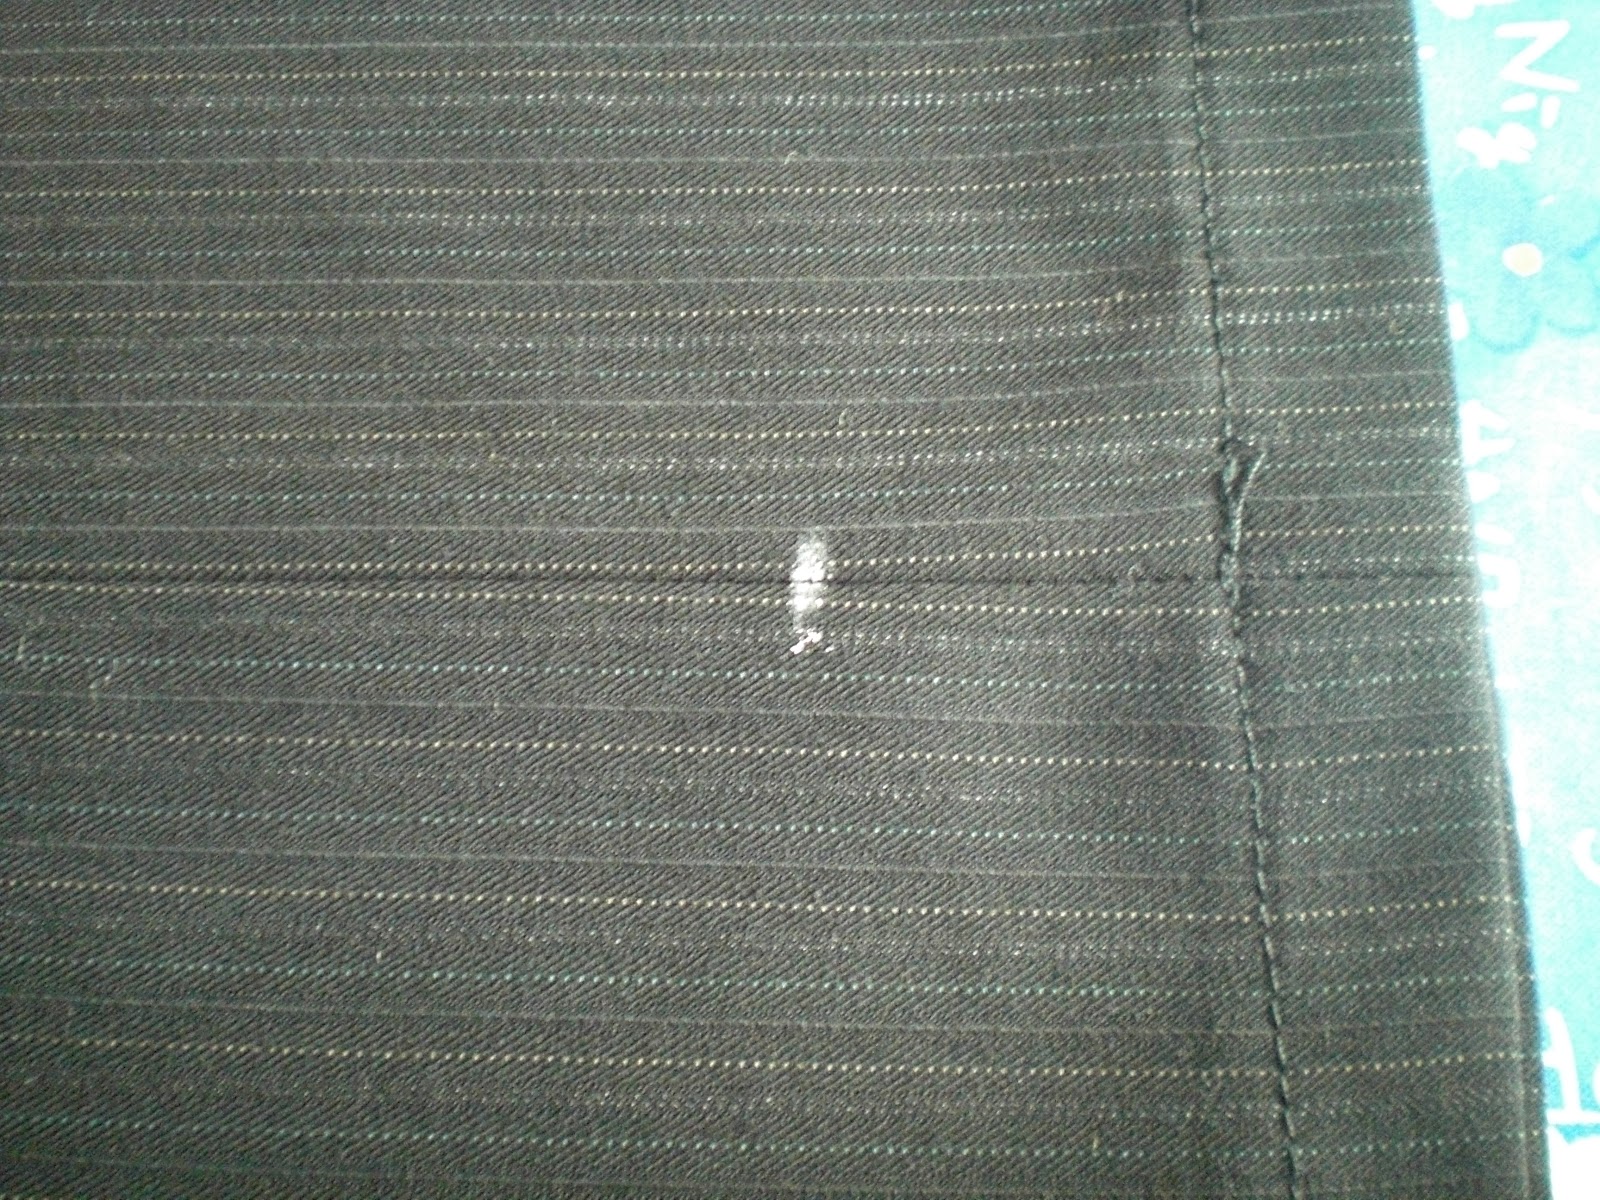
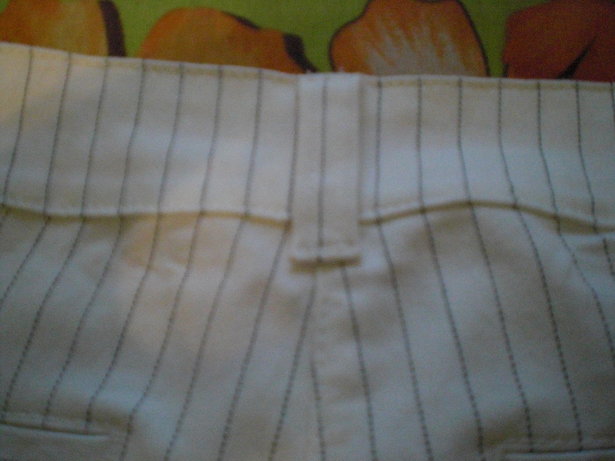
This is how it looks at first.


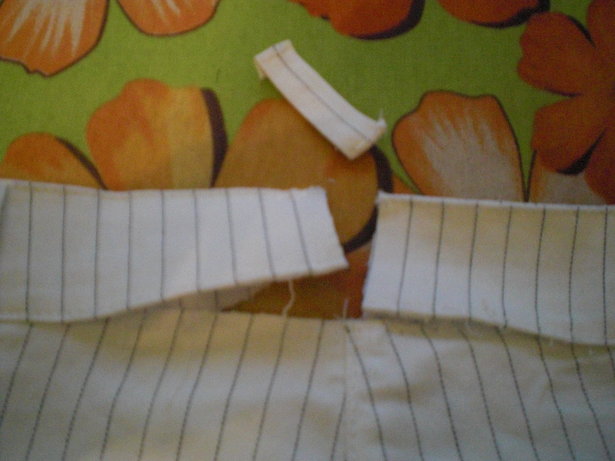
2.   Firstly, undo the seam of the waistband right where the centre back seam of the pants is (take away the belt keeper if there's any) and cut the waistband right in half. I wanted to narrow the waist band 4 cm, so cutting it in the middle works just fine.  Make sure to try on the pants first and measure the excess fabric!


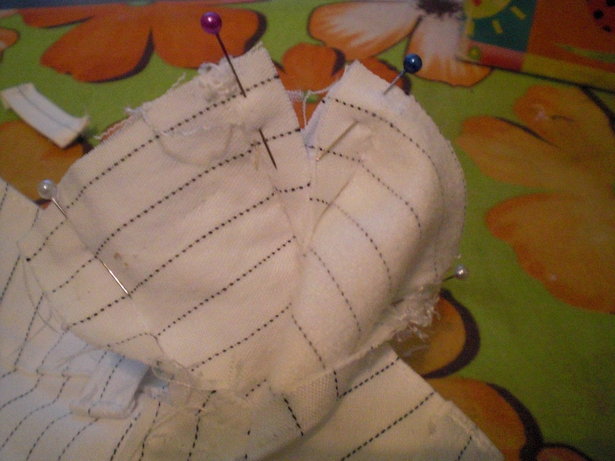
3.  Now pin together the four pieces of the waistband and sew them, according to your measurement. You may undo only the stitch of the waistband that holds it to the pants and not the seam that holds the two pieces of the waistband together. I had to do it in this pants, otherwise it is easier to treat it as one piece.


4.  Cut the extra fabric and leave about one cm for seam allowance. Steam press open and give the waistband it's normal shape.


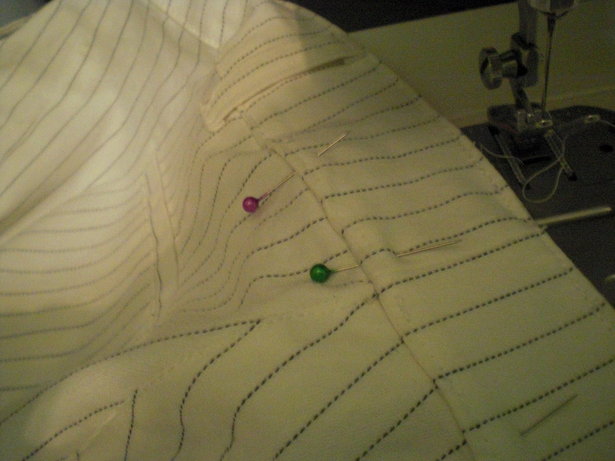
5.  Now you have to narrow the pants part too. Pin and stitch, creating a dart. I started at 2 cm (2+2 =4 cm narrower) as I did in the waistband and ended at 0.... it's a dart!


     If you have to get rid of a lot of fabric, more than 6 cm, you better do this: follow steps 2-5 as above and in step 5, instead of making one big dart in the center seam of the pants, you should do two smaller ones, right in the center of every pant part.
     So if you have to narrow your waist in 8 cm, narrow your waist band following steps 2-4. Then divide 8 by 2 =4, so you have to make two darts of 4 cm each, which means 4 divided by 2 =2, each side of the dart has to be 2cm. Measure the upper part of your pant part, note down the center and draw a dart, 2cm on one side of the center, 2cm on the other side. Sew carefully ending to 0cm. Repeat that to the other side of the dart.


6. Most of the work is done! Add any decorative stitches if your pants originally had them. Now sew the waistband to the pants.


You're done! It looks as it did at first, but it's not the same...look at the lines!!! Good luck!


See you around
Maria


I wish you all a Happy and Creative New Year!

Monday, September 5, 2011

A little hem cheating is not always bad!

    When I came back from vacations I noticed that  I have a lot of clothes that I do not wear, because they need to be altered. Some of them are in my closet for way too long. So I promised my self to alter every summer garment has to be altered, before I start a new project. So far so good, I've hemmed 3 pairs of pants, fitted 3 dress and I have 2 more dresses and 2 skirts to fit. Those last 4 garments are self made, before I lost weight and I still have not figured out how to alter them... the easy way.
   So among those 3 pairs of pants, there was these linen, jeans like pants, with this interesting hem.


    I wanted my hemmed pants to have this same hem, but I was to bored, tired and fed up with hemming pants, to take all the measurements, so I decided to cheat! And here is how :

   Firstly, I noticed that there is this little overlapping here, that would hide well a stitch.


So, if I measured the desired length and I folded the extra and I hid the stitching under that overlapping piece no one would notice. Right?
So I did.

1. I measured the desired length.
I had to shorten these pants 4 cm.
That means 2 folded cm (2 + 2 = 4).

2. I turned the pants inside out and I pined 2 folded cm.


3. After pinning I pressed, to create a sharp folded edge.
That's how it looks from the outside.


4. Having my edge all sharp, I removed the pins.
I folded the hem, having the edge as a guide.
I pinned making sure that : a) the side seams match and
b) the overlapping piece is kept, by the pins, down, so that when I 'll sew right next to the existing seam line, I won't sew over it . Got it?


5. I stitched really close to the existing seam line.
I used my zip foot, to keep my needle really close to the seam line.


6. Then I turned the pants outside in (!) and I pressed really good.
See?


Can you tell I've cheated?

This is how it looks in the inside.


No one will know, unless you are not pressing your own clothes!

Tip : If the amount of fabric you have to fold under the existing hem is too long, you may follow the steps above and after stitching, cut the excess off, leaving a 1,5 cm allowance, which you will zic zac, to prevent unravelling. 

See you around
Maria


Saturday, May 21, 2011

How to shorten pants

    Lot's of alterations going on these days. So here are the steps I'm following to shorten pants.

    1. First of all put them on, while wearing the pair of shoes you are going to wear them with and decide the desired length. Mark it with a few pins or tailor's chalk. One leg will do, you don't have to mark both. You may need the help of a friend in this step. I'm shortening a pair of black pants, which is a versatile garment for my wardrobe and I plan wearing it both with heels and flats, so I picked a medium length to work with any kind of shoe.

    2. Straighten you pair of pants in a way that you can measure the inner seam, just like that.


    Now measure up from the crotch to the mark you made and note down that length, because you will need it for the other leg too.

Tip: Always measure both legs. Sometimes there is a slight difference between the two legs, you can't tell while they are too long for you, but will be noticeable when you alter them to your height.


   3. Measure from the mark to he existing hem and use that measurement to make marks of the same length all over the leg.


      4. Pin the extra fabric upwards, like that


and try the pants on, with your shoes on too.
If everything is ok move to the next step. If not adjust.

5. The first mark you made is for the hem line to be.
So we need to add the seam allowance.
I always add 4 cm and I'll tell you why.
Make a new mark 4cm bellow the first one.


6. Measure the distance between the second mark and the existing hem. 


This will be how much you have to cut off.
Make marks of that specific length all over the leg. 


7. Cut the extra off.


If there is any chance you've made any mistake, you have 4cm allowance, which should be enough to make things ok.

8. Turn the pants inside out.
Using a ruler make a hem of 2cm and pin it.


9. Now turn that hem once again, pin and press.


You just used all the 4cm allowance and the double layer hem you've made met your first mark.

Tip: Don't use pearl headed pins while pressing, cause the heads will melt and ruing your iron.

10. Now you have two choices. 
a) Sew your hem and get done with it, or
b) If you feel, two layer are bulky, you can reduce the bulk this way.
Cut off a part of the first layer, leaving about 0,3 cm.
In this particular pants I'd like some weight on the hem, so I'm not cutting. 
But if I did, that's how I would do it.


I would unfold the double layer hem.
The point where the scissors blade touches the fabric would be where I would cut the first layer. 
ONLY THE FIRST ONE.
(also shown here)

11. Now you should be ready for sewing. 
Depending on the style of the pants, you may machine sew or hand sew.
Sew and press well.

I'm hand sewing this one, with a blind stitch. 
That's how it turned out from the inside.


and the outside


Tomorrow I'll show you how to do that stitch.

See you around
Maria


Related Posts Plugin for WordPress, Blogger...