When a girl in a pencil skirt tries to get on the bus this is what happens...

Yeap a torn back slit.
This is a ready made dress, made of a thin fabric, that couldn't stand my clumsy-ness and got torn.
Fixing it is not hard.
1. Cut two strips of heavy woven interfacing. Their length should be 3 cm above the last stitch and 3cm below the last stitch.

You should use woven interfacing, because it's hard to be torn, if you slit get's stressed again and it has to be heavy to help keeping the fashion fabric together, while being stronger than the thread.
If you observe a torn slit, you will see that, although the fabric gets torn, the seam remains untouched.
That's because the thread was stronger that the fabric.
I'm going to shorten this slit a little bit, that's why my strips are that long. If you are too, use your measuring tape to measure how much you want to shorten your slit and add 3 cm below that and 3 cm above the existing last stitch.

2. Strongly press the interfacing to the inside side of the fabric, centering the interfacing strip to the fold of the fabric, making sure you placed your interfacing 3 cm above the last stitch and 3cm below it.

3. Now fold and press, forming the slit.
Repeat with the other interfacing strip to the opposite side of the slit.
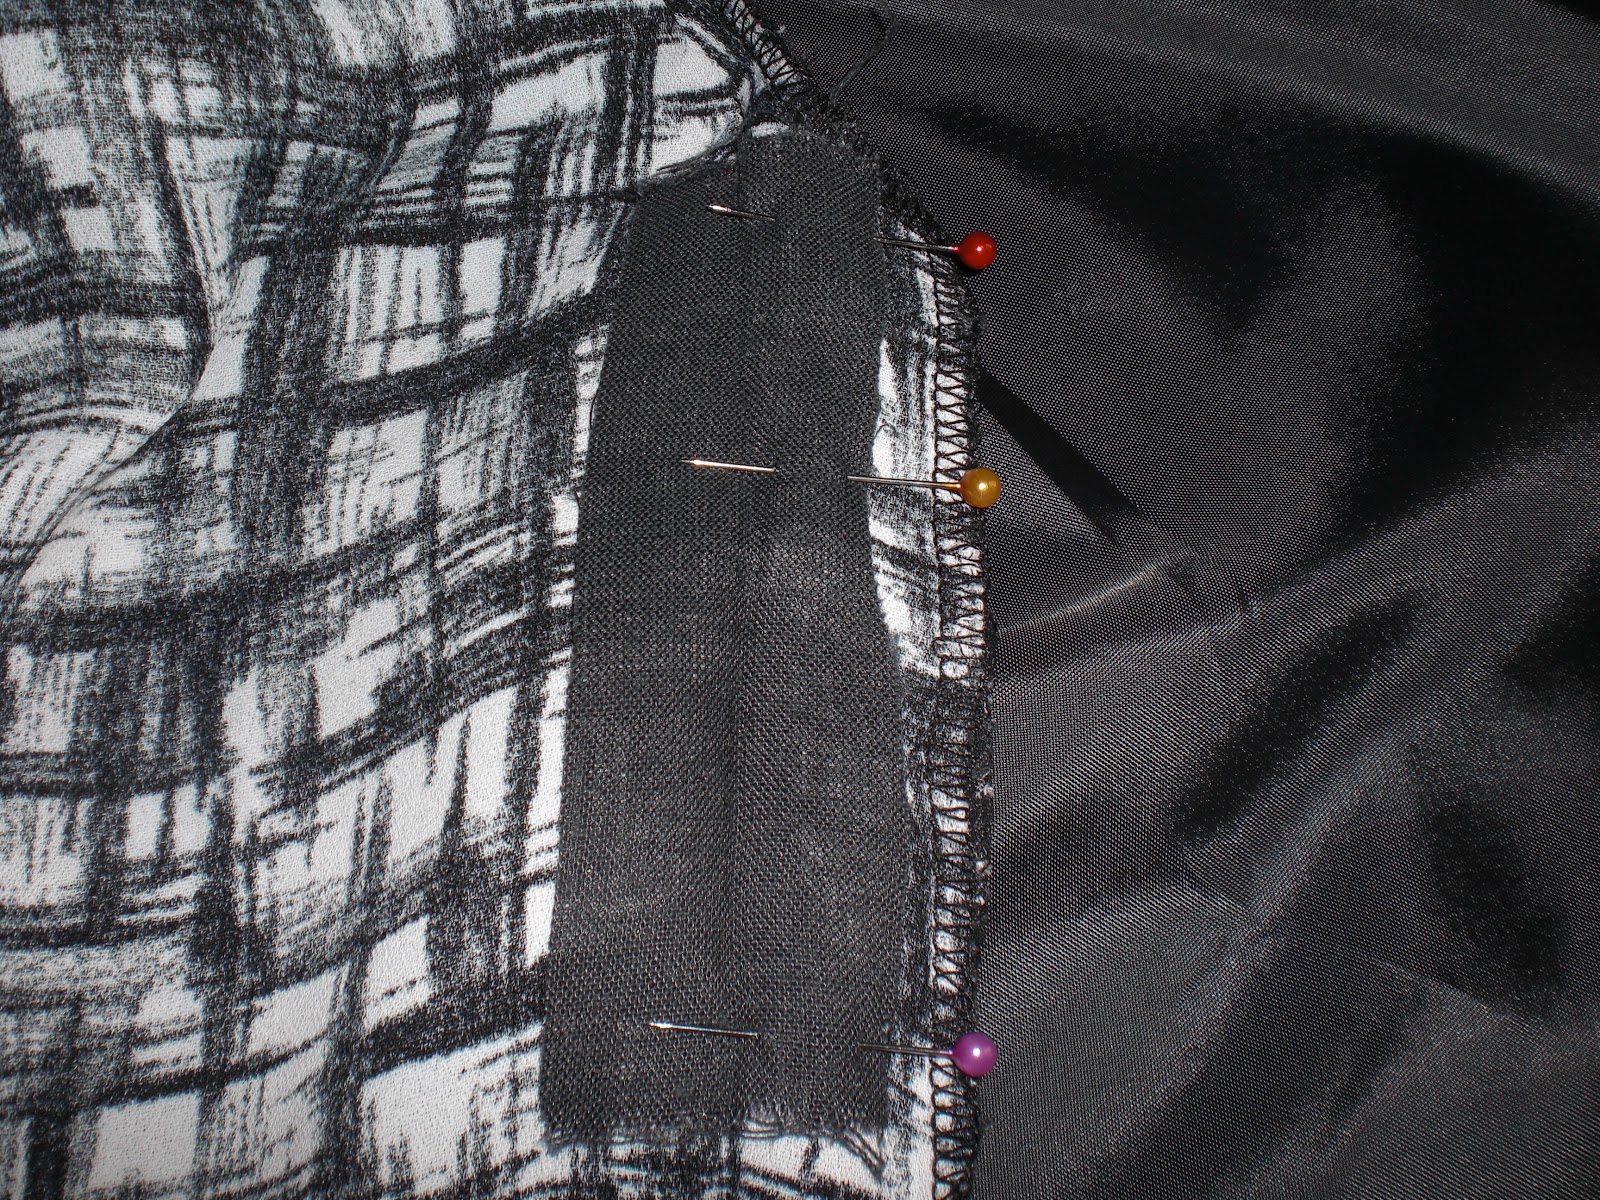
4. Open the two slit sides and align them, as you would if you wanted to continue the back seam. Secure them with pins.
5. Sew in the folded line like this

and stop at the desired length.
As you can see I've marked where I want to stop stitching.
I suggest you use a triple seam like this one

because it is extra strong and hard to be undone.
Back stitch at the end.
6. Press your slit from both sides.
Ta da !!!

Perfect!
You can't see the old tear and the new seam won't be torn.
If you are making a pencil skirt your self, I suggest you make a back vent.
It's less trouble and you don't have to worry about your precious garment being destroyed.
This is by far the best tutorial I've ever come across. Thank's Sunni!
See you around
Maria
1 comment:
Looks easy. I will definitely try this on my skirts! Thanks!
Post a Comment